
Selecting images in Exposure
Selecting an image or images is the first step in the Exposure workflow. Exposure provides several ways to quickly select multiple images based on manual selection or matching metadata criteria. Once you select a group of images, any changes you make will be applied to all of them. This allows you to set organizational flags, apply a preset look, and export a group of images with just a few clicks.
This article is written for standalone Exposure X2 and later, but basic image selection and deselection will apply to plug-in and earlier versions.
Basic Image Selection
Basic image selection works similar to your operating system’s file management.
Click: Select an image.
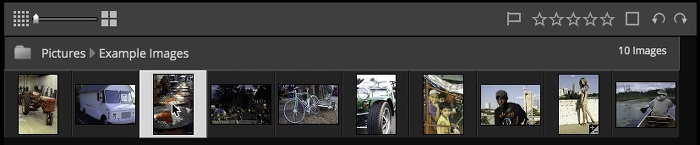
Shift+Click: Select all images from the currently-selected image to the image you shift-click.

Command+Click (or Control+Click on Windows): Add or remove a single image from the selected images. Hold down Command (or Control) and click all the images you want to select.

Invert Selection
Invert Selection will select all images that are not selected, and deselect the images that are selected.
Use Edit > Invert Selection or the keyboard shortcut Command+U (Control+U on Windows) to invert the selection.

Deselect Images
Use Edit > Deselect all others or the keyboard shortcut Command+D (Control+D on Windows) to deselect all images.

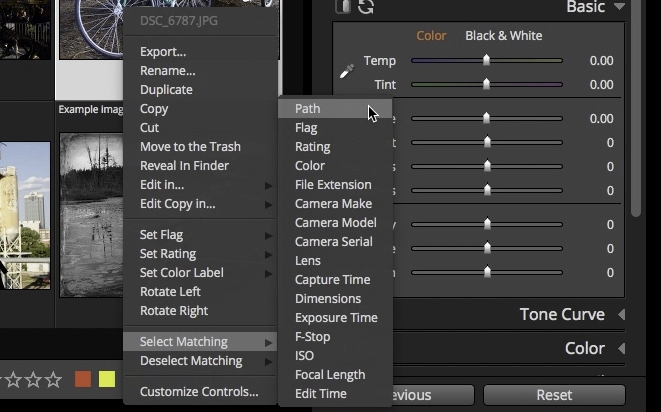
Select matching Functionality
Select images with similar attributes like rating, camera make, or lens focal length using the Select Matching feature.
Right-click image > Select Matching.
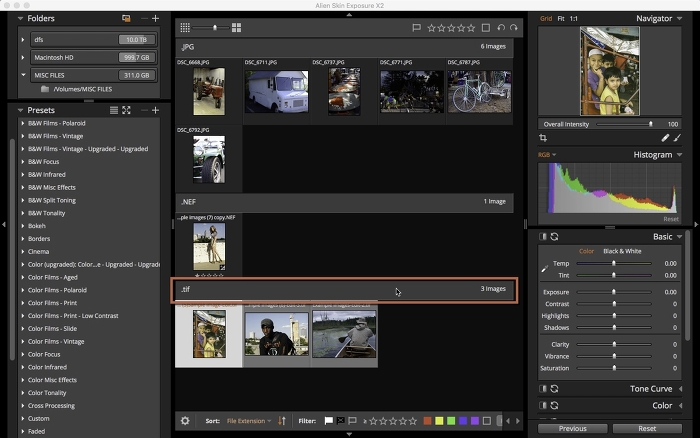
Select Group by clicking Grid Header
Click on a grid header to select the whole group.
Display Single Image
Double-click on any image in the selection to display in Fit view. The other images are still selected and any edits you make will be applied to all images.

Return to Grid View
Press the Escape key (esc) to return to Grid view.
Have more questions? Submit a request.