
Snap Art 4 - Detail Masking
Question
What is Detail Masking and how do I use it effectively?
Answer
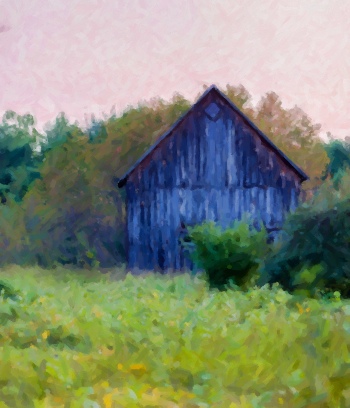
Detail Masking lets you fine-tune the natural media effect by changing attributes like the size of the brush strokes, paint thickness and photorealism inside the masked areas. For example, if you are working on a portrait, you can use detail masking to add detail to the face and eyes while making the background look more abstract and painterly.
To use this feature, open the Detail Masking panel and use the mask tool to tell Snap Art which area you'd like to fine-tune. Then adjust the controls in the Detail Masking panel to get the desired effect. Closing the Detail Masking panel will hide the pins in the preview so that you can focus on the natural media effect. The green circle next to the words "Detail Masking" tells you that the current photo has hidden masks that can be edited by opening the Detail Masking panel again.
Watch this video for more information about Detail Masking.
Below is a text & image overview of the Detail Masking
Once your image is loaded into Snap Art, just scroll down to the Detail Masking panel. You can use the Masking Tool to paint over the area you wish to adjust. Once you paint on your mask, you can then adjust the control in the Detail Masking panel.
You can create up to 3 different masking points. The changes will only only affect the masking point you have currently selected.
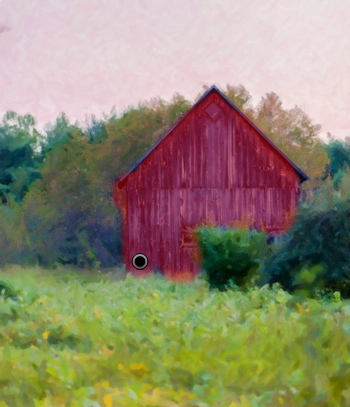
After making your adjustments you will see them reflected in the masked area. Using the 3 different masking points, you can increase or decrease the detail in different areas of your image.

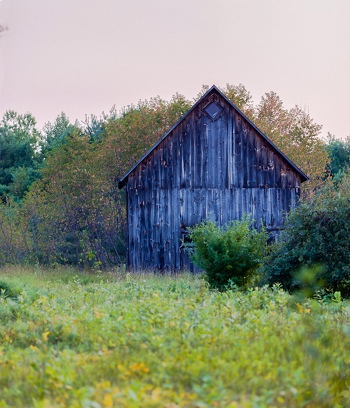
If you had not applied a detail mask to the image, the subject in the painting would have the same painterly effect as everything else.
Have more questions? Submit a request.